A computer vision project: finding a photo on instagram using its description
Most image sharing sites take advantage of algorithms to quickly label and classify posted images. Instagram already applies image classification methods to every photo posted by a user. But when we take a look at these descriptions, they seem often quite vague:
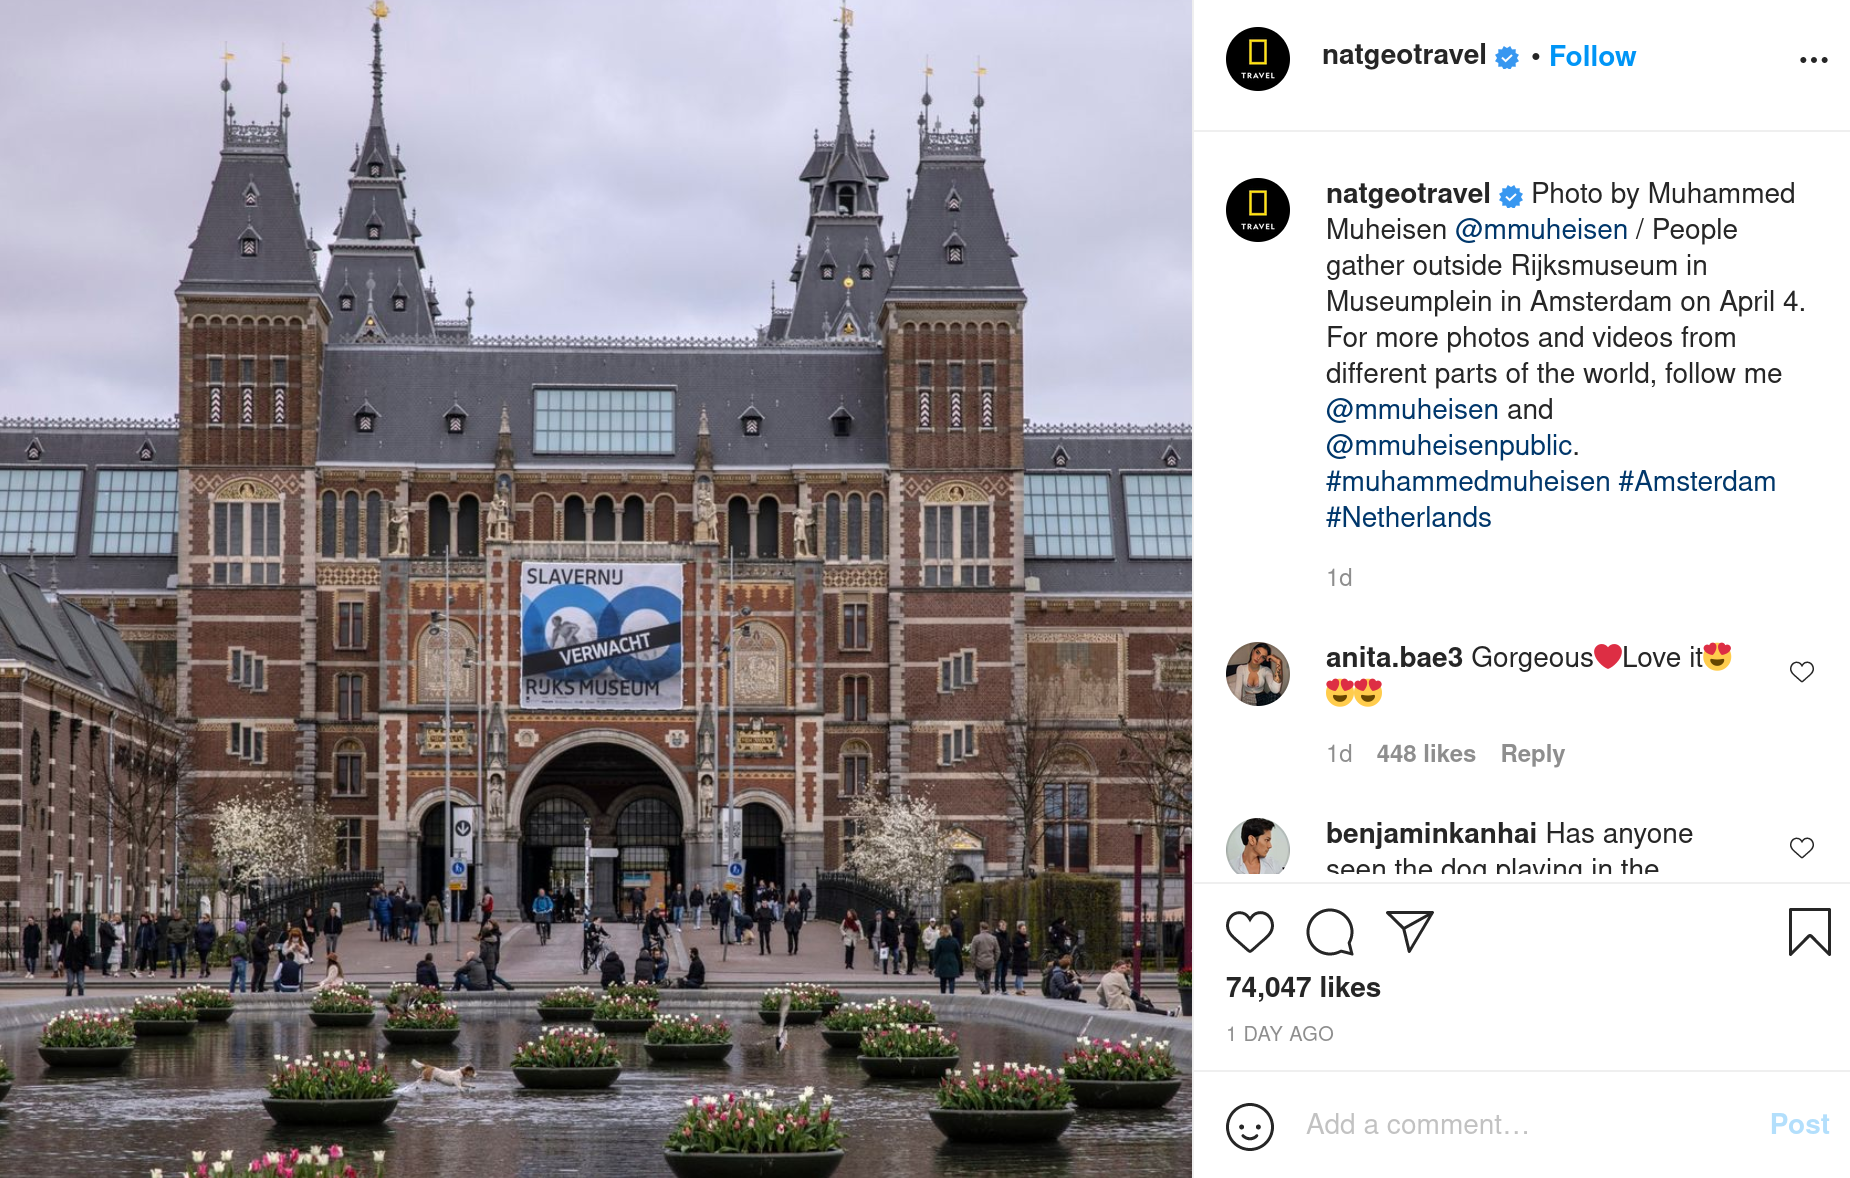

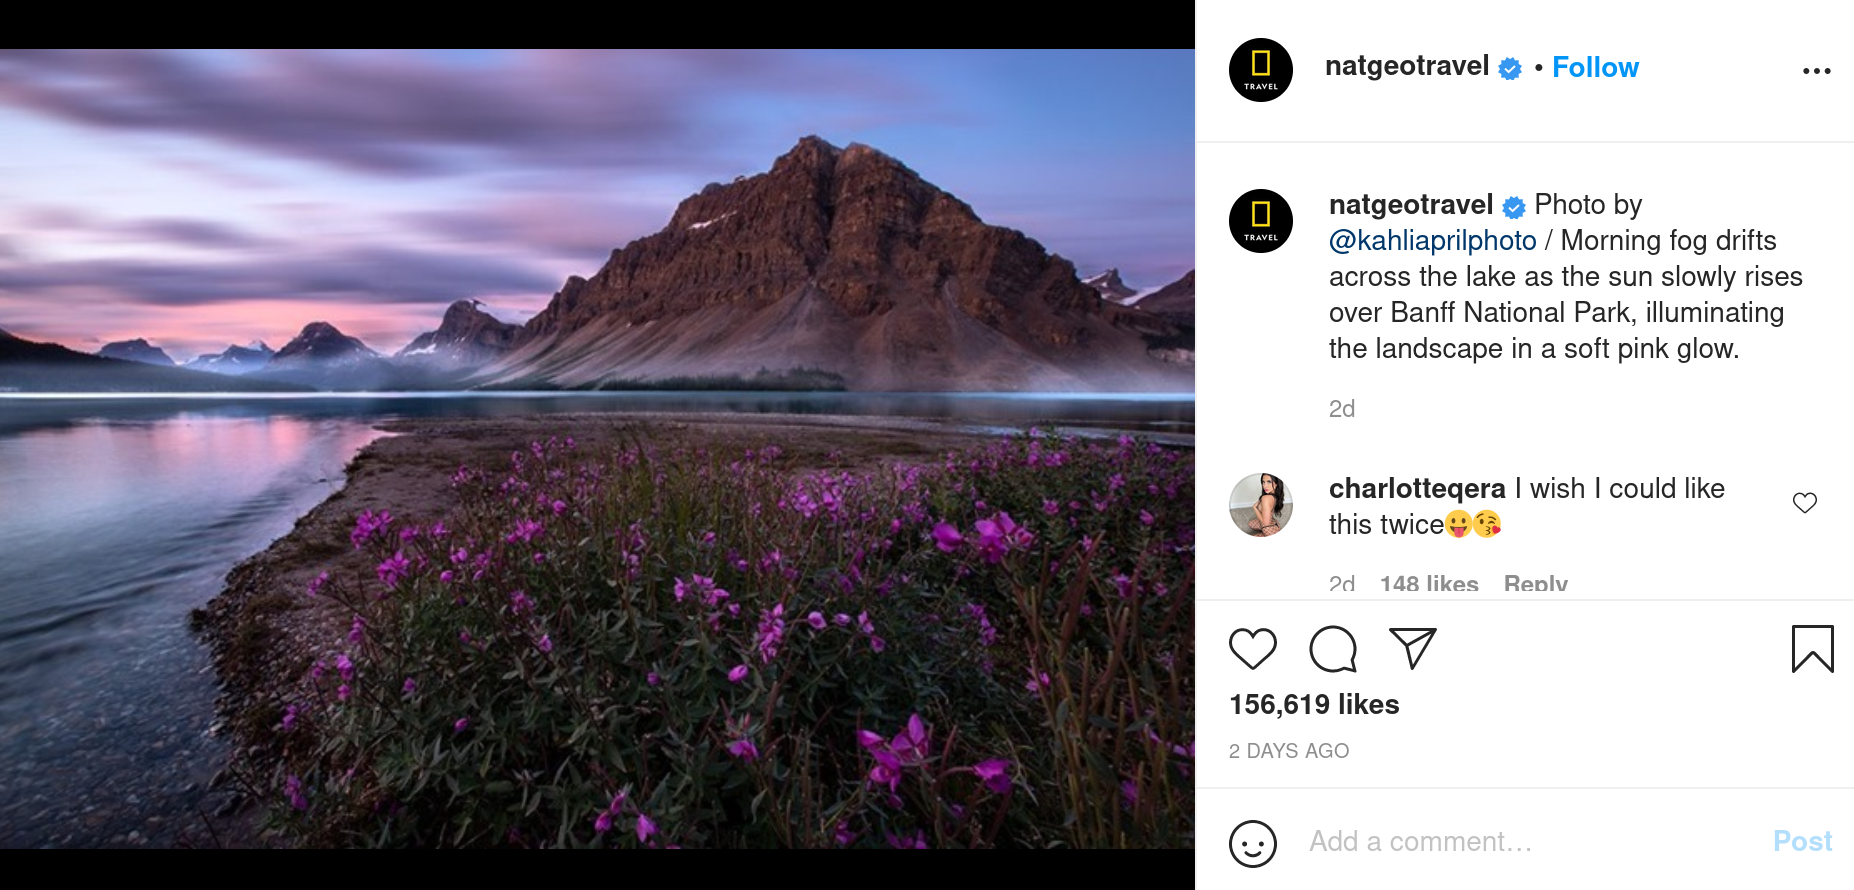

In addition to that, Instagram gives no option to perform searches across the generated descriptions.
We could apply other image analysis methods on these photos, allowing us to describe them more precisely. This would allow us to easily find an image using a description.
We will describe here the functioning of a web demo allowing us to perform an image search on an Instagram profile, from descriptions that we will generate digitally. We will use python for the server side (back) and javascript for the front.
Part 1: Finding images: How to search Instagram
First, we need a set of images to search on. If we want to use the Instagram platform, we need a way to browse the site and retrieve content.
Instagram does not offer an interface to download multiple photos at once. At first glance, the only solution to build up a dataset of images would therefore be to browse the profiles and download them manually one by one.
Fortunately, there are programs that allow you to ‘scrape’ Instagram, that is to say, to automatically browse the site in order to retrieve the data that interests you.
One of these programs, coded in python by arc298 and named instagram-scraper, allows us to download all the photos of a profile. We will try this on an instagram profile with a large number of various images: the NatGeoTravel account of the National Geographic channel.
$pip install instagram-scraper
$instagram-scraper natgeotravel
The download takes quite a long time, about 10 photos per second. Fortunately, the script has an option to retrieve only the url addresses of the images, with a potentially faster download time. These addresses will be enough for us to access the images later.
$instagram-scraper natgeotravel --media-metadata --media-types none
The execution time is indeed much shorter.
We store the list of urls in json format, in a file named url_list_natgeotravel.json. This one will constitute our database.
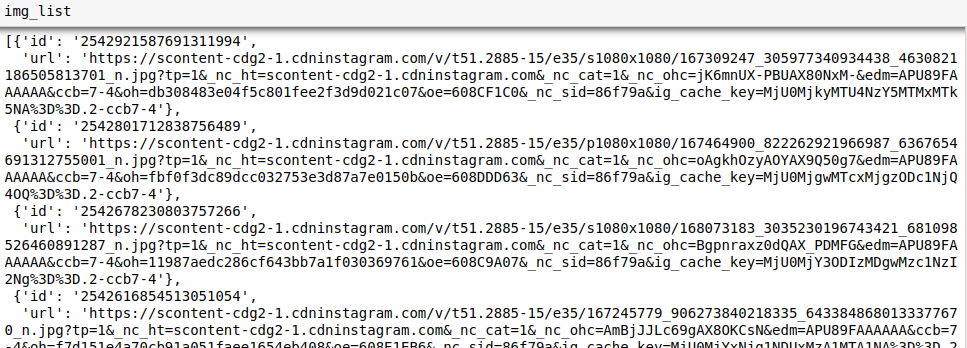 List of extracted urls.
Part 2: Describing an image: How to analyze an image in order to get its description
Now that we have access to the images, we can assign a description to each of them. A traditional method of machine learning to extract information from an image is the use of a neural network, and more particularly convolutional neural networks (CNN). It applies convolutions on the surface of the image, allowing to detect patterns of more or less high level, and to associate these patterns to the characteristics of such or such object.
When training the network, it will learn both the characteristics of the convolutions to be applied, and to which content to associate these patterns : face, car, cat, etc …

A possible architecture scheme for a CNN (source: Kdnuggets.com)
CNNs already trained on large image databases are available on the Internet. Among them, AlexNet, a CNN trained on the ImageNet image database (1.2 million images of 1000 different classes), and published in 2012, remains today a reference of pre-trained model.
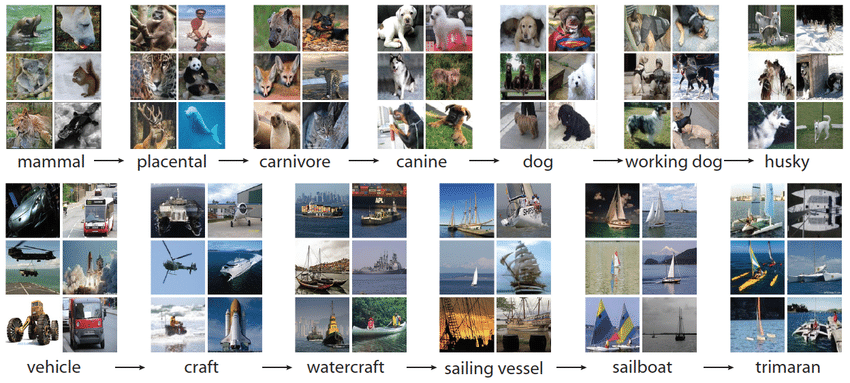
Some ImageNet samples (source: Devopedia )
AlexNet is available for download on the Kaggle page of the python library Pytorch.
It can also be downloaded directly from a python script:
import torch
model = torch.hub.load('pytorch/vision:v0.9.0', 'alexnet', pretrained=True)
We can then retrieve the image of our choice via its url, with the PIL and urllib libraries:
from PIL import Image
from urllib.request import urlopen
input_image = Image.open(urlopen("https://www.nosamis.fr/img/classic/Berger-Australien1.jpg"))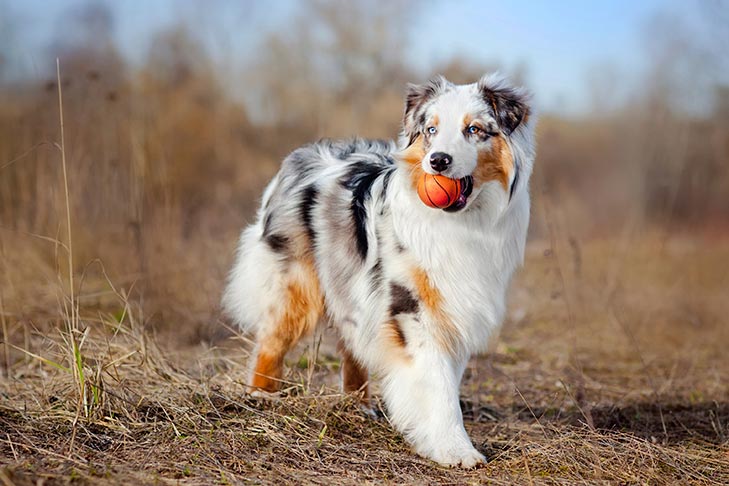
Our test image: an Australian shepherd.
We normalize the image and resize it, then put it in tensor form, a multidimensional array used as a data format by the Pytorch library:
preprocess = transforms.Compose([
    transforms.Resize(256),
    transforms.CenterCrop(224),
    transforms.ToTensor(),
    transforms.Normalize(mean=[0.485, 0.456, 0.406], std=[0.229, 0.224, 0.225]),
])
input_tensor = preprocess(input_image)
input_batch = input_tensor.unsqueeze(0)
We pass our tensor into the AlexNet model:
with torch.no_grad():
    output = model(input_batch)
The output tensor contains the scores associated with the 1000 objects that AlexNet can recognize. We apply the softmax function to the scores to obtain the probabilities:
probabilities = torch.nn.functional.softmax(output[0], dim=0)We can get the list of names of the 1000 objects recognized by AlexNet on the Pytorch github:
$wget https://raw.githubusercontent.com/pytorch/hub/master/imagenet_classes.txt
with open("imagenet_classes.txt", "r") as f:
    categories = [s.strip() for s in f.readlines()]

categories[torch.argmax(probabilities)] #result : 'Border collie'
The highest probability output by AlexNet is that of the Border collie class, which is not exactly the content of our initial picture, but still very close given the diversity of classes proposed by the model.
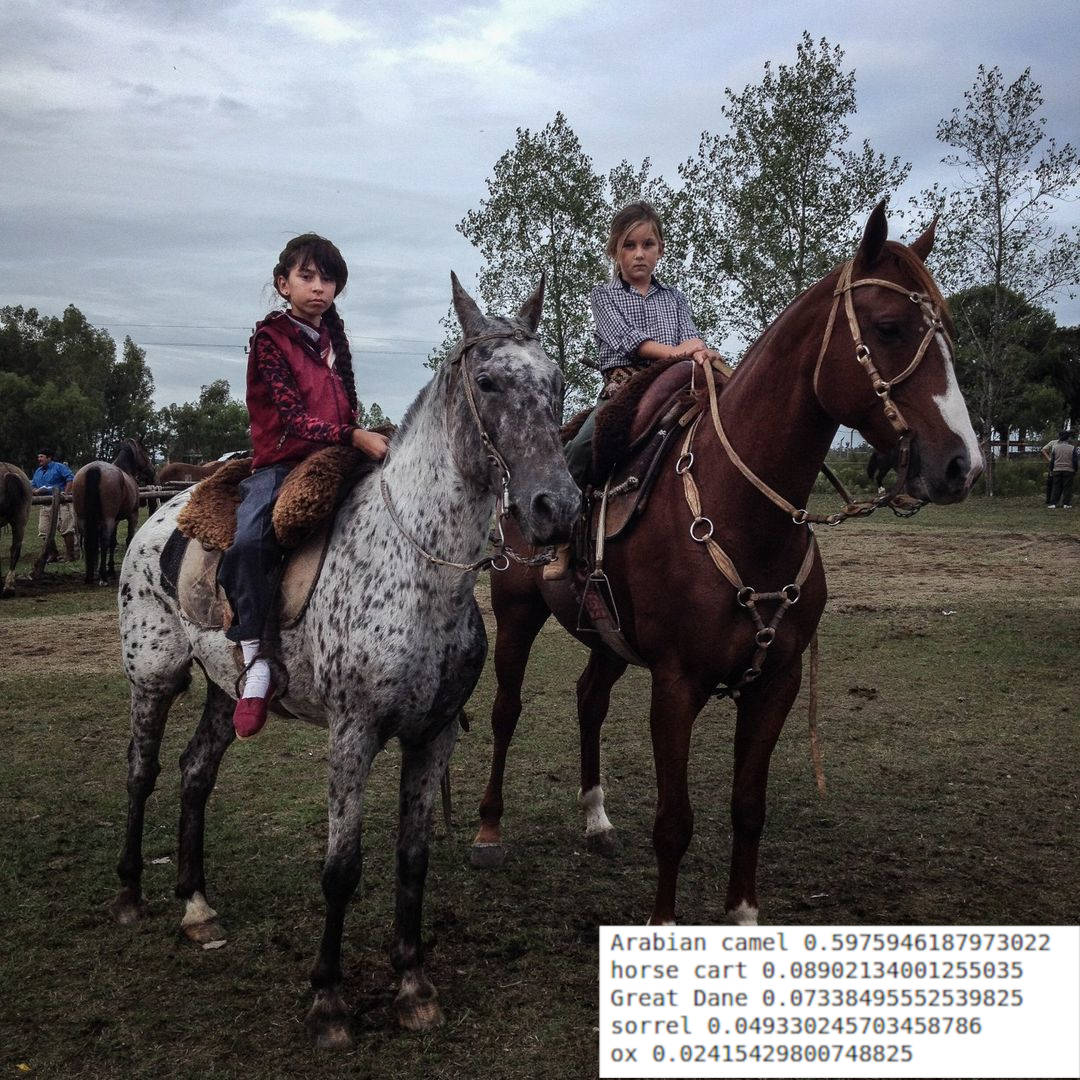
This method is accurate on the examples of images that we present to it:

However, it only provides us with a list of probable elements contained in the image. It does not extract actions such as “running”, “cycling”, “lying down”, nor contextual elements of the image such as “on a bench”, “on the beach”, etc…
We would like, for each image, to produce a sentence summarizing its content, and this whether it has individually identifiable elements or not.
The paper Show, Attend and Tell: Neural Image Caption Generation with Visual Attention, by Kelvin Xu et Al proposes an architecture allowing to associate a descriptive sentence to an image. This architecture is composed of a CNN and a recurrent network (RNN) allowing to generate coherent sentences related to the image.
We will use here an script freely inspired by Sgrvinod, which I describe in this article.
$python3 imcap_sgrvinod/caption_photosearch.py --model='imcap_sgrvinod/BEST_checkpoint_coco_5_cap_per_img_5_min_word_freq.pth. tar' --word_map='imcap_sgrvinod/WORDMAP_coco_5_cap_per_img_5_min_word_freq.json' --beam_size=5 --imglist='url_list_natgeotravel.json'--dict_path='captions_dict_natgeotravel.json'
This script opens each url in the dictionary contained in url_list_natgeotravel.json, and writes the descriptions produced by the template in captions_dict_natgeotravel.json.
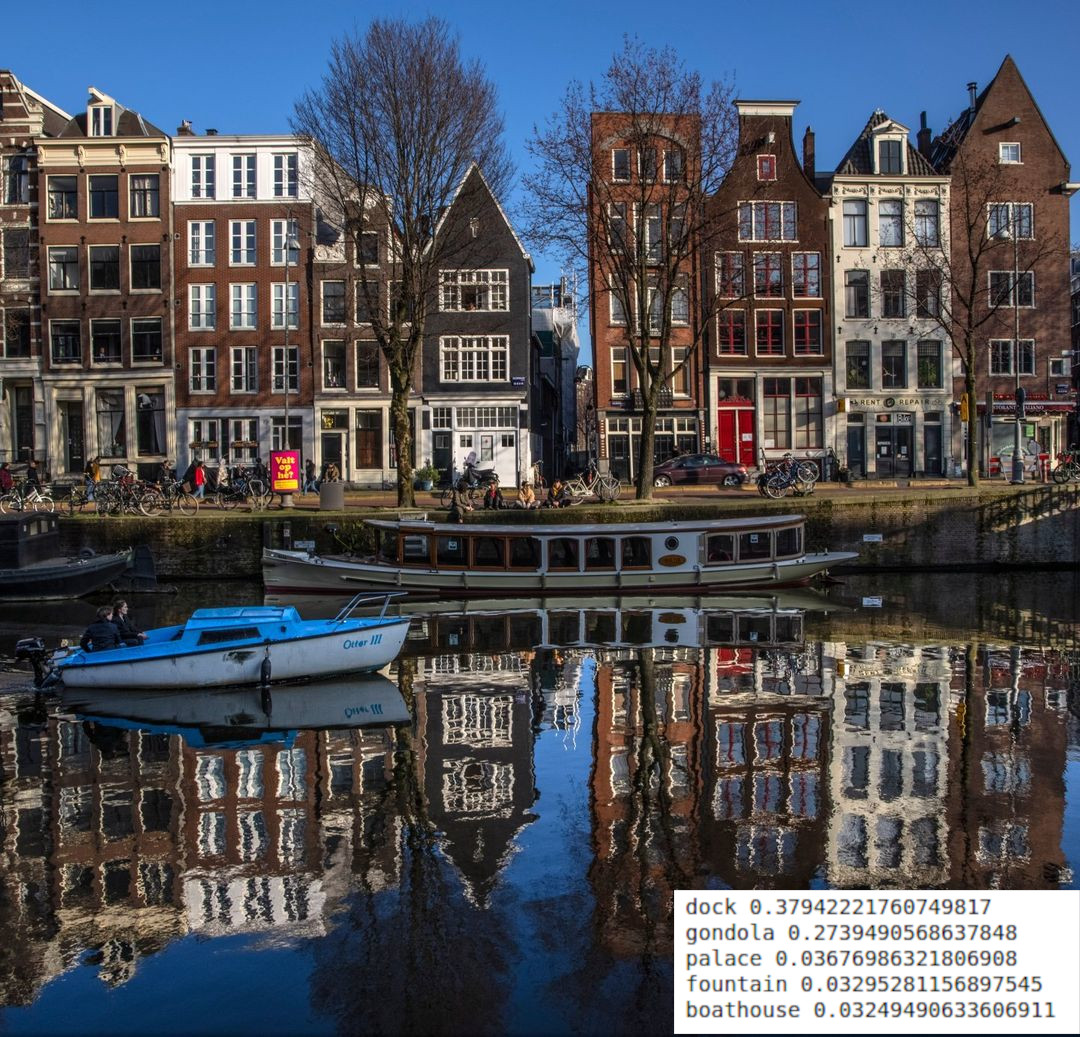
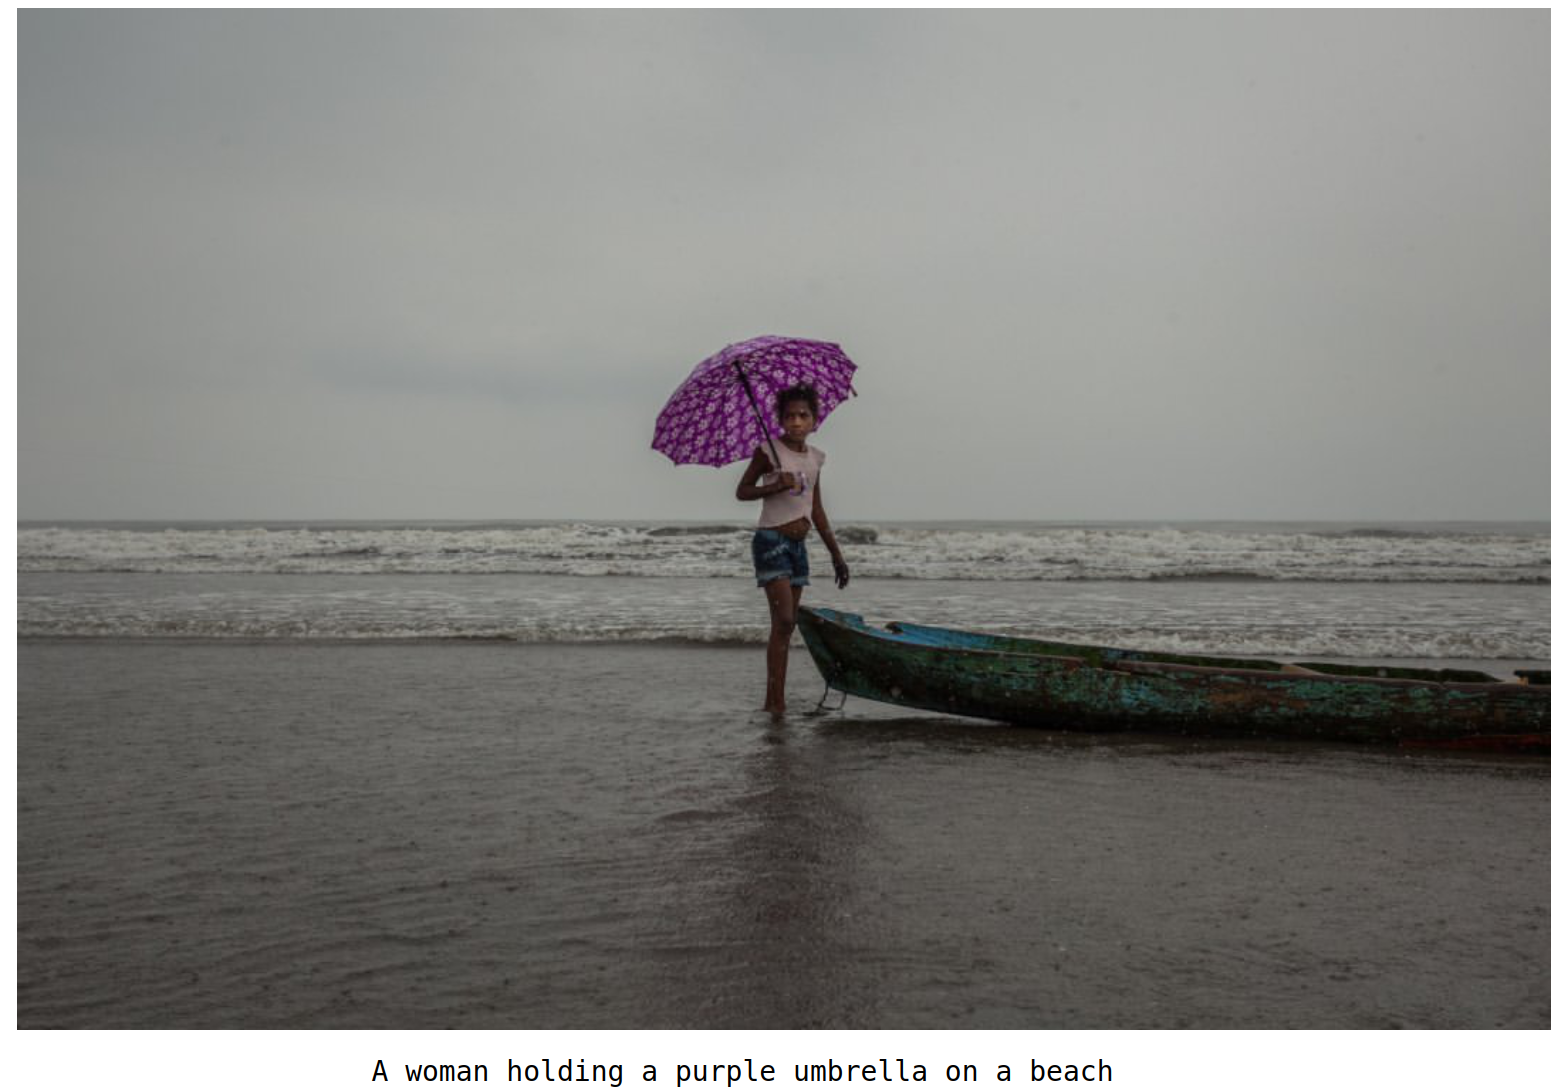 Example of an image description generated by the script.
We now have a descriptive sentence for each picture of the NatGeoTravel account. We will use it to build a search engine on these pictures:
Part 3: Fetch the best results: create an API that returns the images closest to a given description
Our goal is to retrieve, for a given query, the n images whose descriptions are closest to the query. We will use a standard text retrieval method, the TF-IDF method, based on the frequency of occurrence of the query terms in the searched documents.
Let’s imagine that we want to find an image of people walking in the street. Our query will be the following string: “People walking down the street”. Each description can contain a greater or lesser number of search terms, here in bold:
| image | sentence |
|---|---|
| img1 | A dog walking on a street |
| img2 | A young girl surfing in the ocean |
| img3 | A group of people walking down the street |
| img4 | A couple of people playing football in the park |
The TF-IDF method is based on the assumption that two documents sharing a large number of words are likely to be semantically close. We will calculate the degree of similarity between our query and a text j by the number of times a query term appears in j.
In order to obtain a degree of similarity between 0 and 1, we divide (or normalize) this number by the product of the number of words of the query and the text j. This normalization also allows us in theory to penalize longer texts, which by their size have statistically more chance to contain query words. However, since the texts searched here are all of similar size, this normalization has little impact in our case.
We use here the TfidfVectorizer() function of the sklearn library, which allows us to easily transform our texts into word occurrence arrays:
    from sklearn.feature_extraction.text import TfidfVectorizer
    import pandas as pd
    import numpy as np

    documents = [d["caption"] for d in name_data]

    vectorizer = TfidfVectorizer()
    X = vectorizer.fit_transform(documents)
    # Convert the X as transposed matrix
    X = X.T.toarray()# Create a DataFrame and set the vocabulary as the index
    df = pd.DataFrame(X, index=vectorizer.get_feature_names())
We calculate the degrees of similarity between each text and the query, then add them to our list of urls.
 q = [search_string]
    q_vec = vectorizer.transform(q).toarray().reshape(df.shape[0],)
    sim = []  # Calculate the similarity

    for i in range(len(documents)):
        sim.append(np.dot(df.loc[:, i].values, q_vec) / np.linalg.norm(df.loc[:, i]) * np.linalg.norm(q_vec))

    paired_scores = zip(sim,urls,txts)
We sort our list of urls by increasing order of degree of similarity, then we retain the first 100.
    sorted_scores = sorted(paired_scores, key = lambda t : t[0],reverse = True)
    # Create an empty list for our results

    results = [i for i in sorted_scores if i[0] > 0]

    if len(results) > 100 :
        results = results[:100]
Our goal is to create an application that allows any user to type in a query, and then get the results provided by this script. So we will make the above script be triggered at each request, by registering it inside a server. We use here the Flask framework.
To launch our local Flask server, let’s write the following script, which we will call api.py :
import flask

app = flask.Flask(__name__)
app.config["DEBUG"] = True

@app.route('/')
def index():
    return "<h1>The server is running !!</h1>"


if __name__ == '__main__':
    # Threaded option to enable multiple instances for multiple user access support
    app.run(threaded=True, port=5000)
We have configured our server to send us the html message “The server is running !!” when we consult its root.
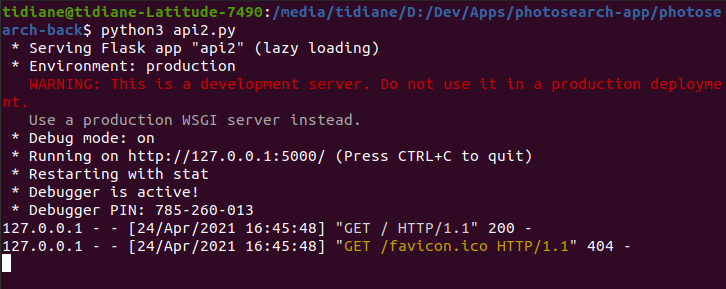
We run our script :
$python3 api.py
Our server is now running locally at http://127.0.0.1:5000/ :
We are going to modify our script so that when we receive a request, it returns us the classified urls.
We introduce some useful libraries:
import flask
from flask import request, jsonify
import json
from sklearn.feature_extraction.text import TfidfVectorizer
import pandas as pd
import numpy as np


app = flask.Flask(__name__)
app.config["DEBUG"] = True
We then open our database :
data_file = open('photosearch_db.json', 'r')
data = json.load(data_file)
We get the arguments ‘name’ and ‘search_string’, which will be respectively the Instagram identifier on which to search, and the searched text :
@app.route('/', methods=['GET'])
def api_id():
    # Check if a search string and name were provided.
    if ('str' in request.args) and ('name' in request.args):
        search_string = str(request.args['str'])
        name = str(request.args['name'])
We calculate the top 100 results using the TF-IDF method and return the results:
    documents = [d["caption"] for d in name_data]

    vectorizer = TfidfVectorizer()
    X = vectorizer.fit_transform(documents)
    # Convert the X as transposed matrix
    X = X.T.toarray()# Create a DataFrame and set the vocabulary as the index
    df = pd.DataFrame(X, index=vectorizer.get_feature_names())


    q = [search_string]
    q_vec = vectorizer.transform(q).toarray().reshape(df.shape[0],)
    sim = []  # Calculate the similarity

    for i in range(len(documents)):
        sim.append(np.dot(df.loc[:, i].values, q_vec) / np.linalg.norm(df.loc[:, i]) * np.linalg.norm(q_vec))

    urls = []
    txts = []

    for img in name_data :

        urls.append(img["url"])
        txts.append(img["caption"] + img["yolo_objects"])


    paired_scores = zip(sim,urls,txts)

    #sorted = [x for _,x in sorted(paired_scores)]
    sorted_scores = sorted(paired_scores, key = lambda t : t[0],reverse = True)
    # Create an empty list for our results

    results = [i for i in sorted_scores if i[0] > 0]

    if len(results) > 100 :
        results = results[:100]

    # Use the jsonify function from Flask to convert our list of
    # Python dictionaries to the JSON format.


    response = jsonify(results)

    response.headers.add('Access-Control-Allow-Origin', '*')

    return response
We can now test our server, with the request “people walking on the street”, on the account “natgeotravel”, by accessing the address http://127.0.0.1:5000/?str=people+walking+on+street&name=natgeotravel :
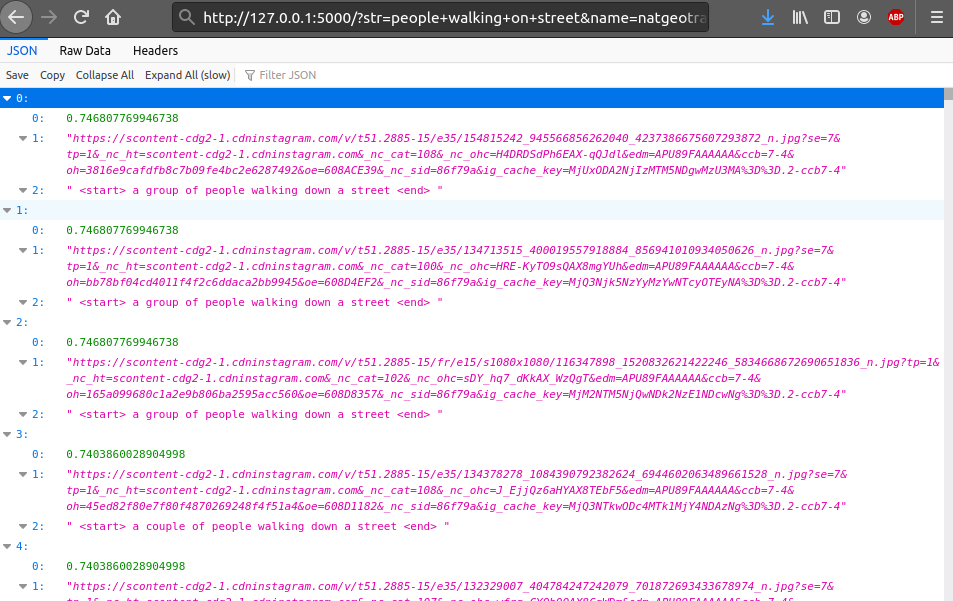
The server returns a list of 100 urls, as well as the corresponding similarity scores and descriptions.
Part 4: Displaying the results: creating an application that interacts with the API
We are now going to build a web interface allowing us to send our requests to the API, and to display the received results.
Several interface models are available on Github. We will use a javascript mockup coded by lelouchB, under the react framework.
As it is, the application uses the API of Unsplash, an image bank. We will modify the source code of the searchPhotos.js file so that it uses our API.
We start by importing axios, a library facilitating the management of http requests:
import React, { Fragment, useState, useEffect } from 'react';
import axios from 'axios';
Then we write our hooks, which will define the state of our queries:
export default function SearchInst() {
  const [data, setData] = useState([]);
  const [query, setQuery] = useState('people walking on street');
  const [name, setName] = useState('natgeotravel');
  const [url, setUrl] = useState(
    'http://127.0.0.1:5000/api/v1/search?str=home&name=natgeotravel'

    );


    useEffect(() => {
    const fetchData = async () => {
      const result = await axios(url);

    setData(result.data);
  };

  fetchData();

  },[url]);
Then we define the textboxes corresponding to the text and the user ID we are looking for, as well as the button to launch the search :
  return (

    <Fragment>
      <input
        type="text"
        value={query}
        onChange={event => setQuery(event.target.value)}
      />
      <input
        type="texts"
        value={name}
        onChange={event => setName(event.target.value)}
      />
      <button type="button" onClick={() => setUrl(`https://photosearch-back.herokuapp.com/api/v1/search?str=${query}&name=${name}`)}>
        Search
      </button>
And finally we send back our list of images.
      <div className="card-list">
          {data.map((pic) => (
          <div className="card" key={data.id}>
            <img
              className="card--image"
              src={pic[1]}
              alt={pic[4]}
              title={pic[2]}
              width="50%"
              height="50%"
            ></img>

          </div>
        ))}
        </div>

     </Fragment>
  );
}
We can now launch our react application from the root folder of the application:
$yarn start
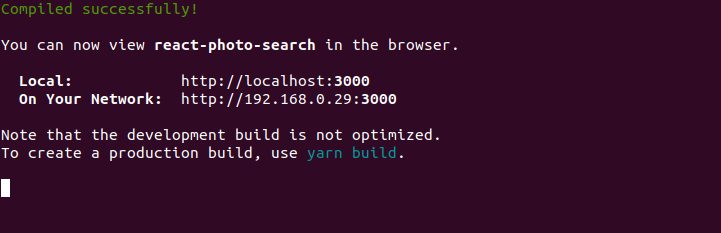
Our application is now available at the displayed address. It displays well the images sent by our API:
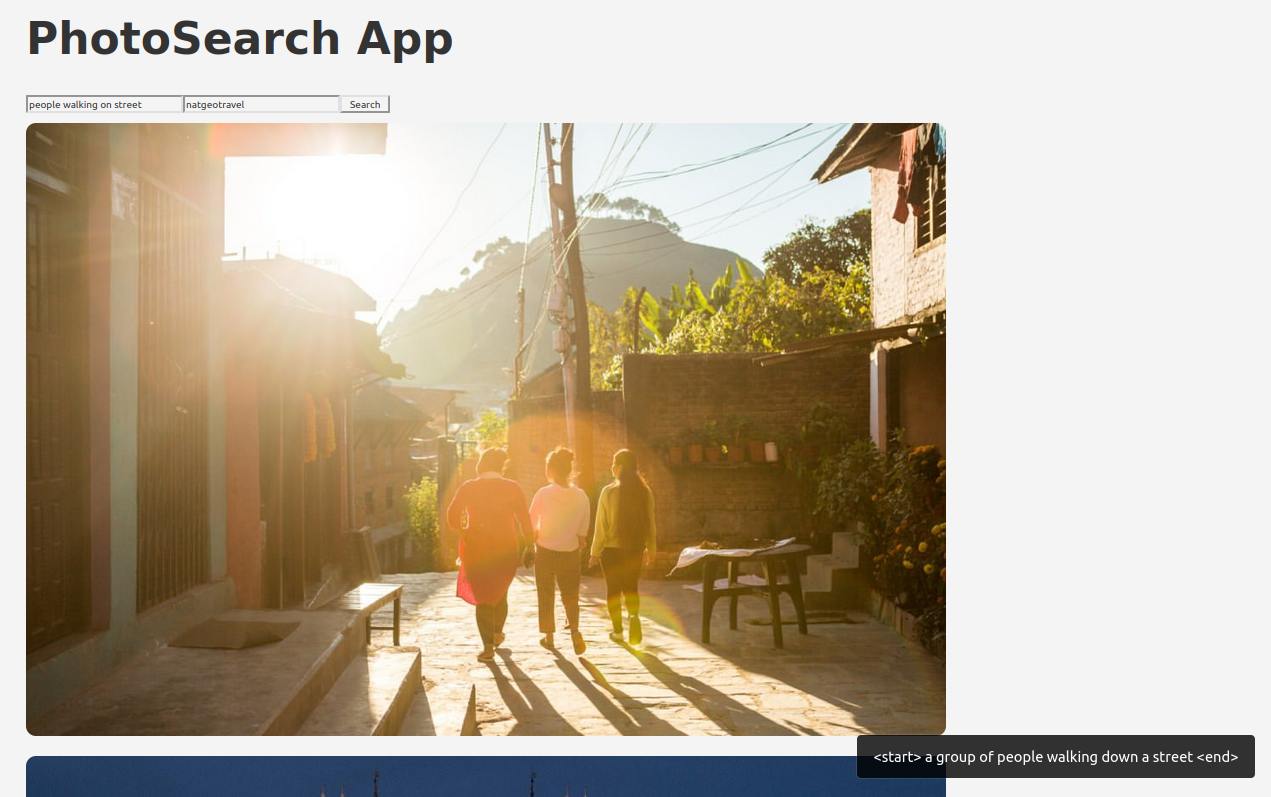
The application is hosted here: https://photosearch-app.netlify.app/. When launching your first request, the response may be a bit long, since the API server shuts down when unused during a certain period of time. Do not hesitate to test it!